Creator studio
Set up your own customised neck label and sticker
Please note that to be able to set up the neck label and sticker, you will need to upload both assets to the customisation page for the order to be processed.
It's not possible to have one without the other at the moment.
Go to your customisation page in MyStudio
Press 'Brands' in the left menu.

If you have several brands, please select a brand from the list by clicking on it.
Brand Page
Click on 'View customisation setup'.

Or, you can click on 'Customisation' in the list view at the top.

Upload neck label
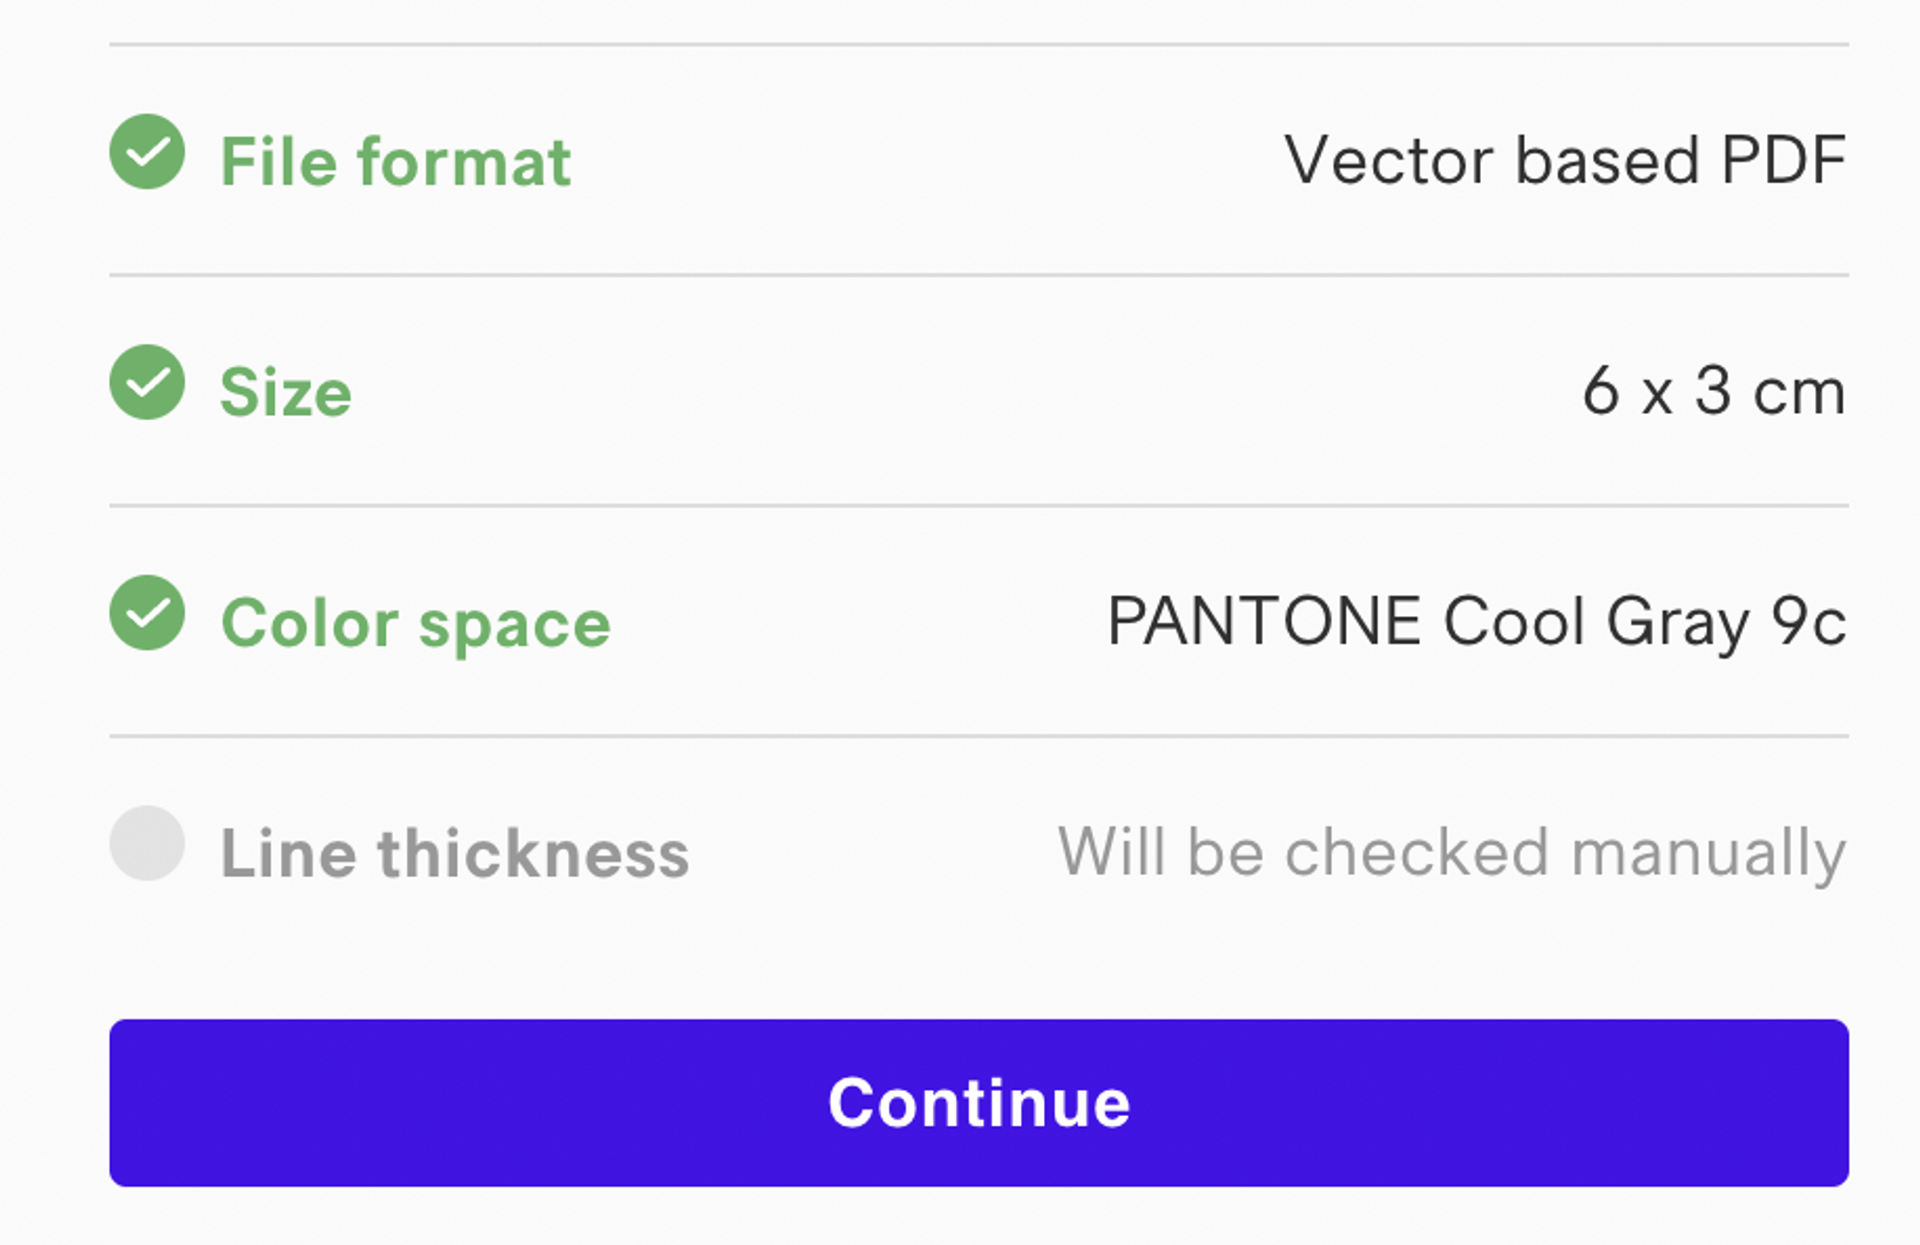
The neck label file needs to be in the correct format. Click on 'Read guidelines' for more info.

Click on the 'Upload neck label' button.

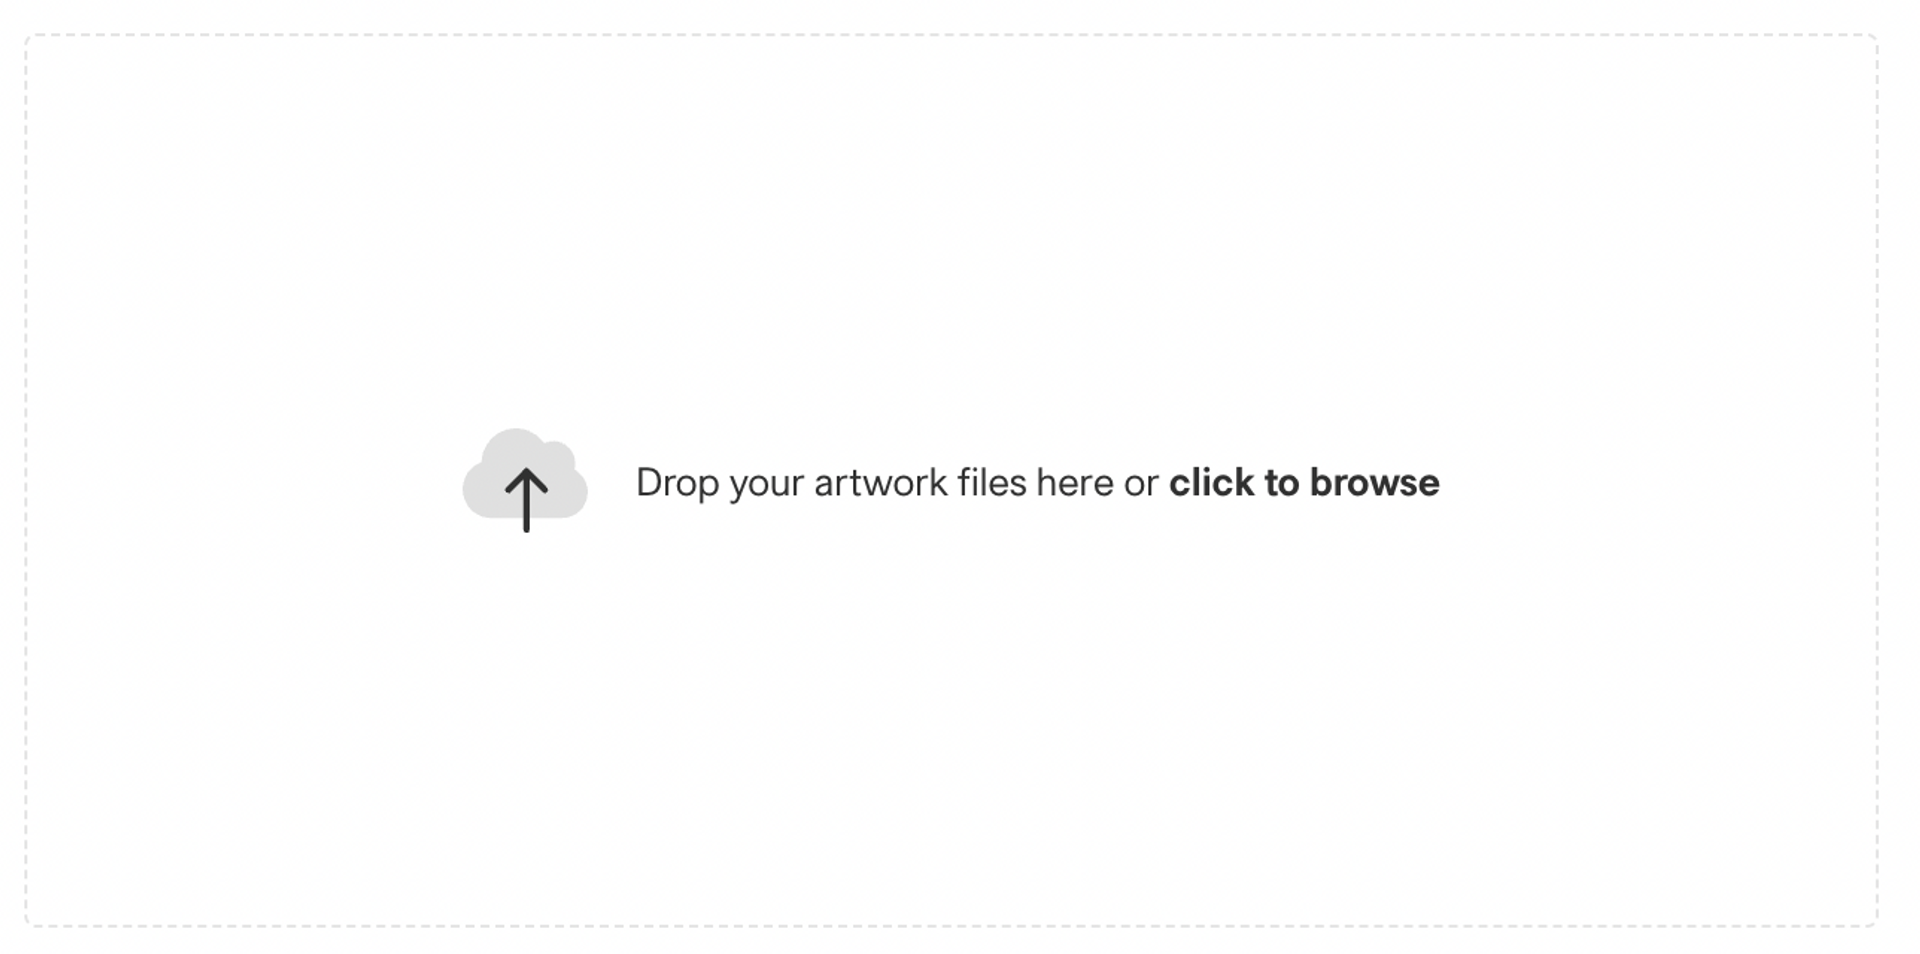
Drop your artwork files or click to browse.

Once uploaded, it will automatically inform you if the format is as required.

Once the dots are coloured green, that means your artwork is accepted.
Line thickness will be manually reviewed to secure the neck label outcome.
Press 'Continue' and then 'Submit artwork'.
Note that once you submit your artwork it will lock for further changes.

Upload Sticker
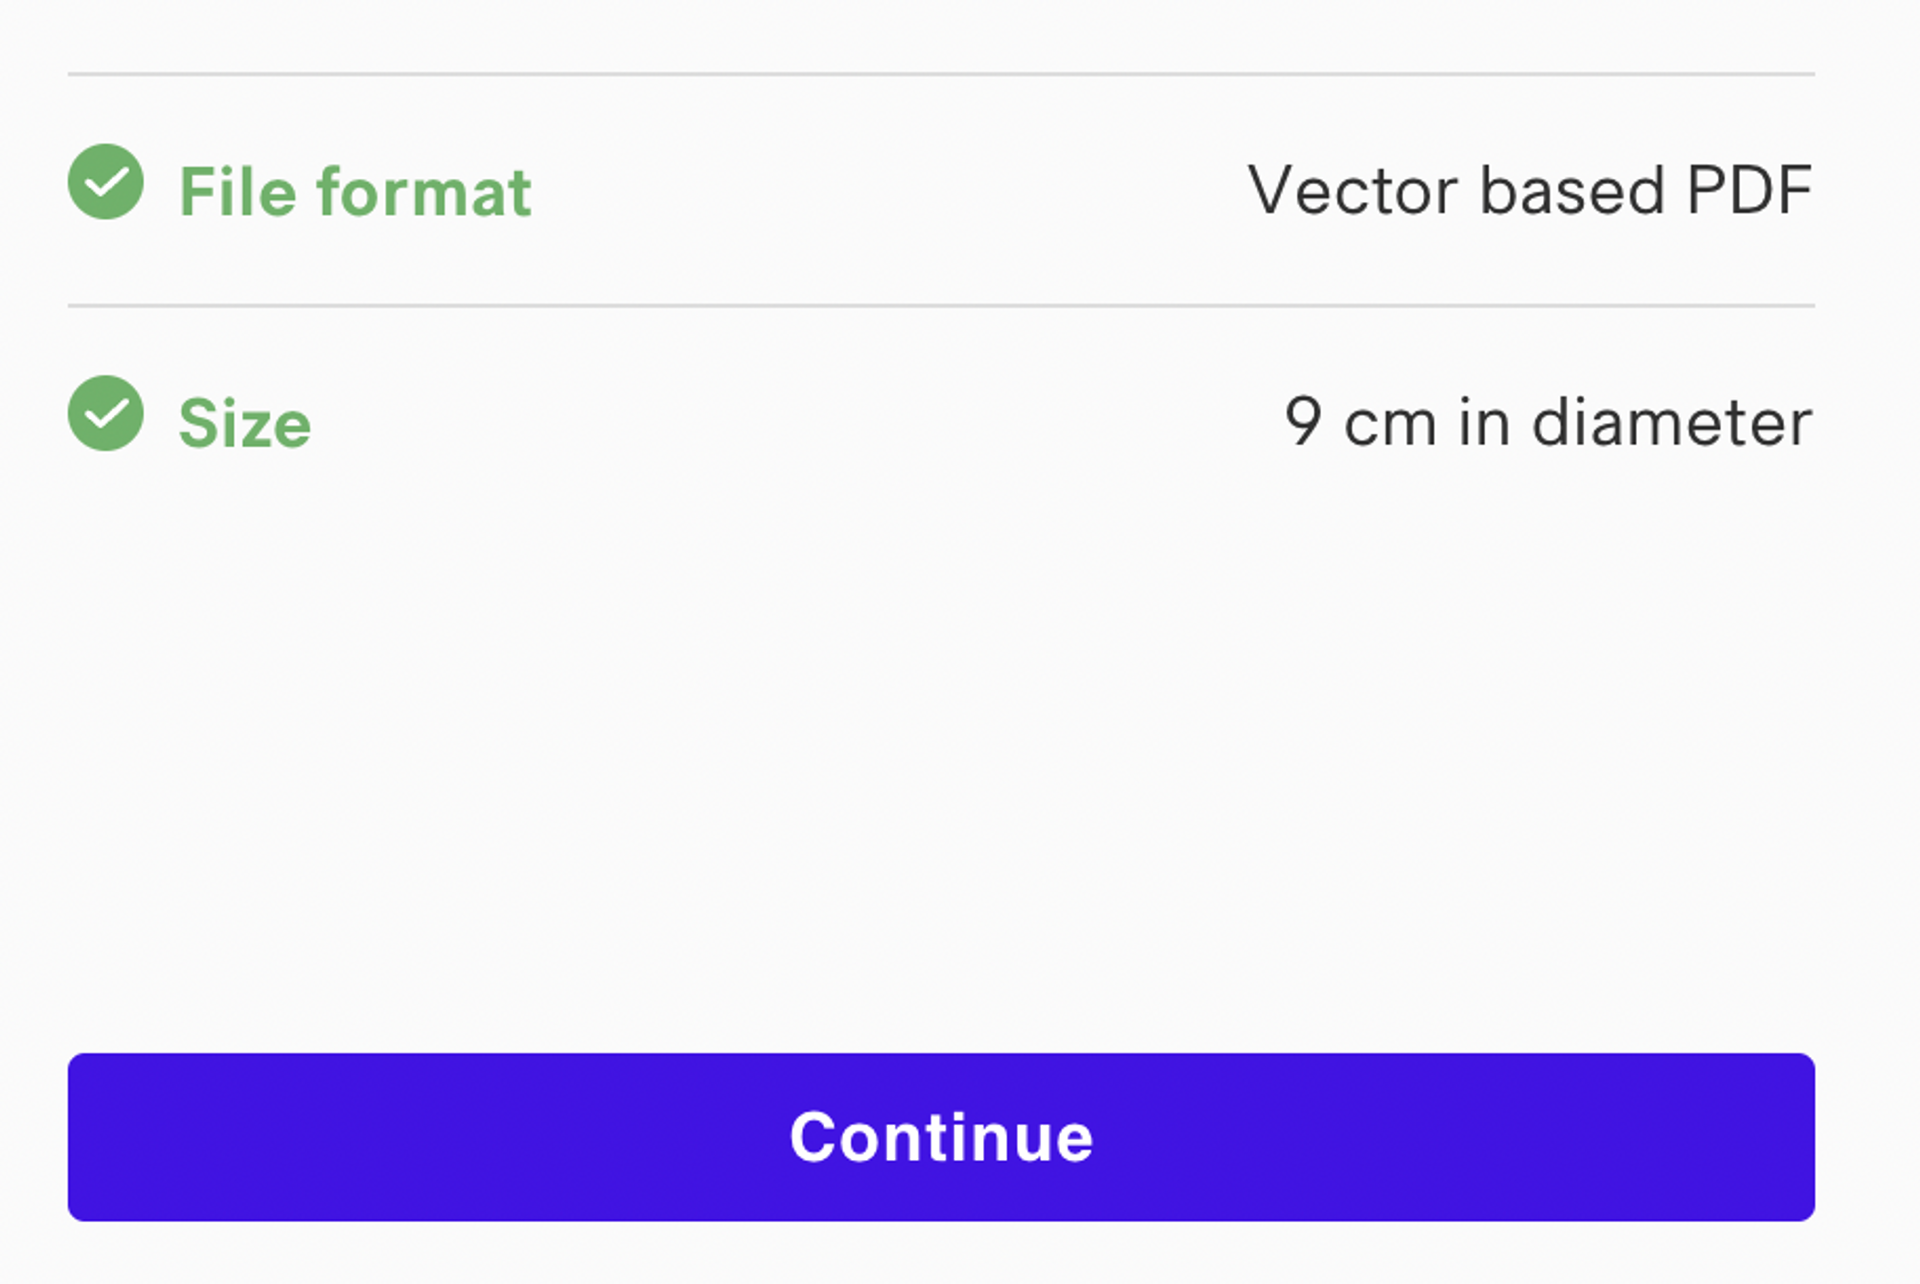
The sticker file needs to be in the correct format.
Press 'Read guidelines' for more info.

Press the 'Upload sticker' button.

Drop your artwork files in the box.

Once you have uploaded the artwork, the green dots should appear confirming that the format is as required. Press 'Continue'.

Press Submit artwork.
Note that once you submit your artwork it will lock for further changes.

Neck label and sticker submitted
You have now submitted your artwork for neck label and sticker.
You will be informed once the artwork has been manually reviewed, and as soon as they are in stock, via email.
Artwork got rejected
If your artwork is rejected, you will receive an email with reasons why the artwork was rejected. It will also show on the customisation page in your MyStudio account. After you made the required changes, you can go ahead and re-upload again.
was this helpful?

© Creator Studio 2024 - Part of H&M Group